Lord Durak Irongrim paced the ramparts, below him the Chaos army made its final preparations. Chaos Dwarf engineers prepared the war machines, Chaos Warriors and Marauders banged their shields and a great Siege tower rumbled foward.
Lord Durak turned to his guard.
"This is it," he announced. "Their last chance. Their supplies are low, their resources spent. If we hold them now, we will break them."
He turned to the Engineer Angrid.
"Get our message ready," he said softly.
Chaos Lord Sundar Klash stalked towards the Castle gate, his banner bearer and herald at either side. A few paces short of the walls he raised his helmet and called out in a low, metallic tone.
"Defenders, you have fought well. Surrender your walls and one in ten of your number as sacrifices to the Gods and the rest of you will be allowed to leave freely."
There was silence for a moment, then the sharp twang of a dwarven stone thrower. A collection of objects crashed to the ground at the Chaos Lord's feet.
Sundar Klash bent down and picked up an object. It was the head of a Chaos Warrior, the helmet, crushed on one side from a hammer blow, still attached.
There was a slow rumble that grow slowly louder. Then Sundar Klash raised his head and gave terrible laugh.
"Wonderful", he cried. "A bold response. We shall give you the death you deserve."
He turned to his army.
"Slaughter them all!"
This is it, after months of on and off gaming, it was finally time to settle the outcome of the campaign. The final scenario would be a lot bigger than any of the previous games. There were no absolute limits set under the rules, but Chaos got twice as many points as the Dwarfs. On the other hand, the Dwarfs got a whole castle to even things out. Both sides had access to siege equipment. I decided to play 1500 vs 3000 points.
Thanks to the Chaos victory in Siege turn 3, the Dwarfs had to pay double for any siege equipment. With that in mind, I decided to forgo any of it. No boiling oil or rocks for the defenders, just good dwarven technology, crossbow, handguns and cannons.
To lead my army, I choose Lord Durak Irongrim. Using a Lord level character was probably a bit of an indulgence in a 1500 point army, but I didn't see how a proud Dwarf Lord could shirk from his duty. I gave him 2 Runes of Cleaving and 2 Runes of Iron 2 boost his hitting power. His daughter Thane Zoe had to be included, along with Master Rune of Swiftness that had proved a nasty surprise in the past. Thanks to her past victories, she was now a level 2 Veteran character and could re-roll her hit or wound dice twice during the game. I also include a Runesmith, mostly so he could impart his Armour Piercing rule to a unit he joined.
The rest of the army leaned heavily on ranged troops and artillery, but I also included some solid infantry in the form of the Longbeards and Hammerers. I kept the units small, hoping that dwarven hardiness would compensate. I boosted up the Grudge Thrower with the Rune of Accuracy, allowing it to re-roll misses, and the Organ Gun with 2 Runes of Penetrating, increasing its strengths.
The Full list
Lord Durak Irongrim - Dwarf Lord
Thane Zoe - Dwarf Thane
Burgun Stonekin - Runesmith
12 Quarrellers
12 Thunderers
12 Longbeards
10 Hammerers
Cannon
Grudge Thrower
Organ Gun
For Chaos, I didn't have a lot of choices. Thanks to losing the introductory scenario and artillery bombardment, Chaos forces were cut by 100 points to 2900, but with Chaos Hounds, Chariots and Cavalry ruled out as being of no use, I basically had to include everything else to make up the points. All my Champions from previous battles re-appeared, along with the Chaos Lord Sundar Clash. I also had the opportunity to use my fresh painted Siege Tower and a significant number of Chaos Dwarf allies.
Chaos Lord Sundar Clash
Zanbad Curseheart - Chaos Dwarf Daemonsmith
Skjalpi Bloodscream - Exalted Champion
Chakram Manflay - Exalted Champion of Slaanesh
20 Chaos Warriors with a Siege Tower
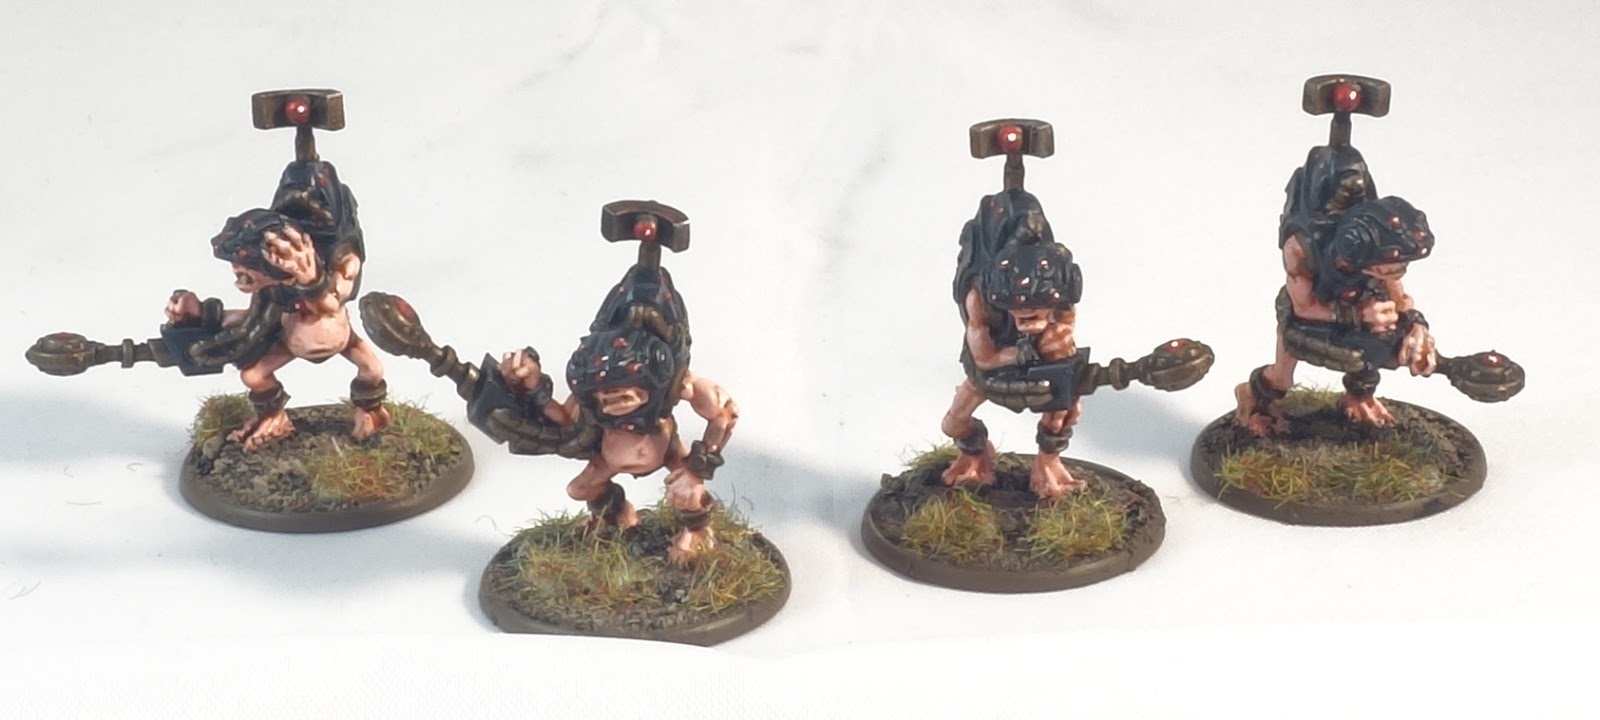
10 Forsaken with 3 ladders
19 Chaos Marauders with flails and 3 ladders
19 Chaos Marauders with hand weapons and shields and 3 ladders
4 Dragon Ogres with a log ram
20 Chaos Dwarf Infernal Guard with Hailshot Blunderbusses
2 Death Shrieker Rockets
1 Dreadquake Mortar
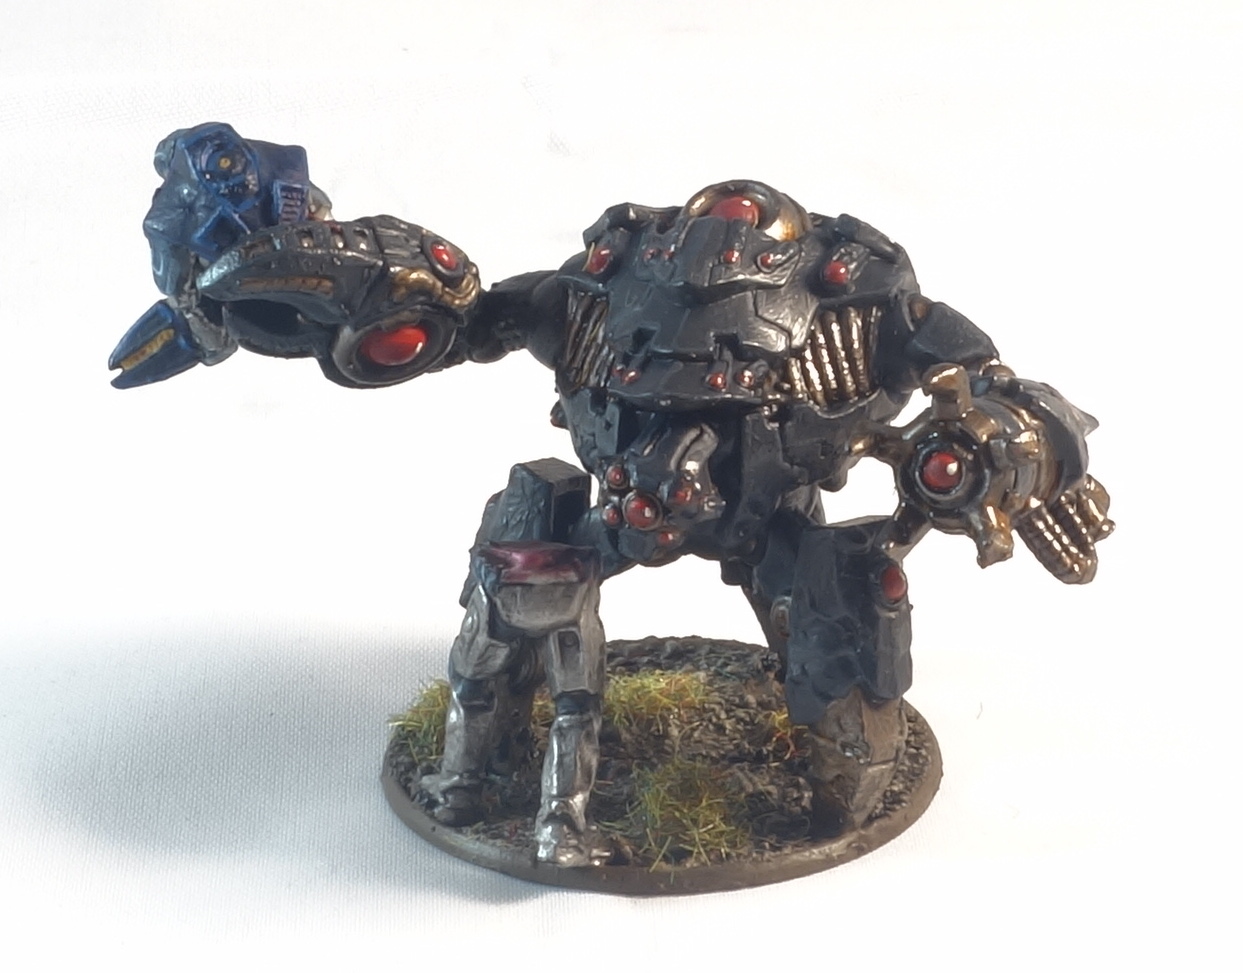
1 Chaos Giant
The scenario would last for Seven turns, with the Dwarfs, as the besieged, going first. The Chaos objective was to get a unit of at least 5 models off the table from the Dwarfs side. If they did that before the end of their seventh turn they would win. Anything else would be a victory for the dwarfs.
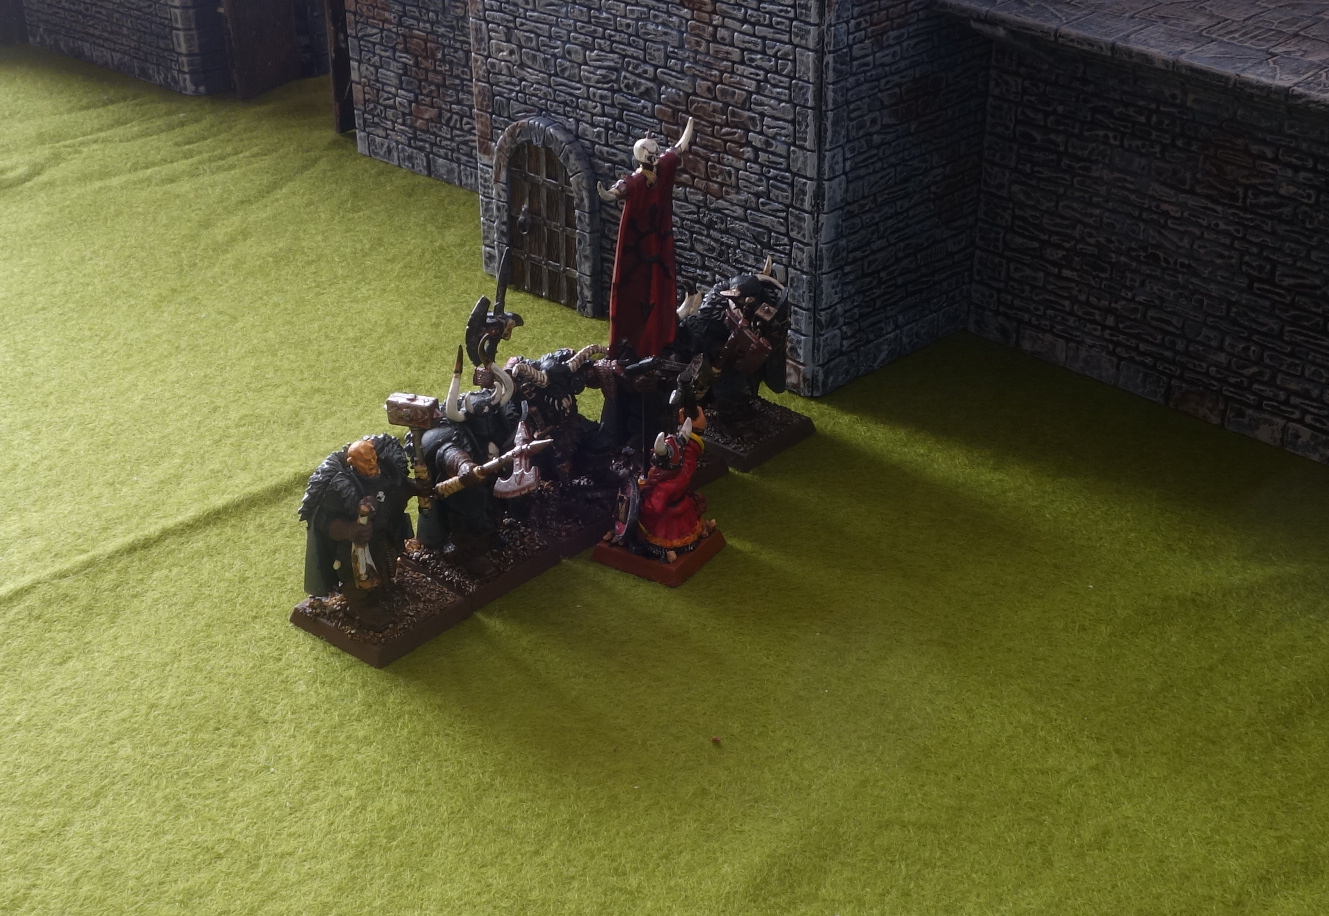
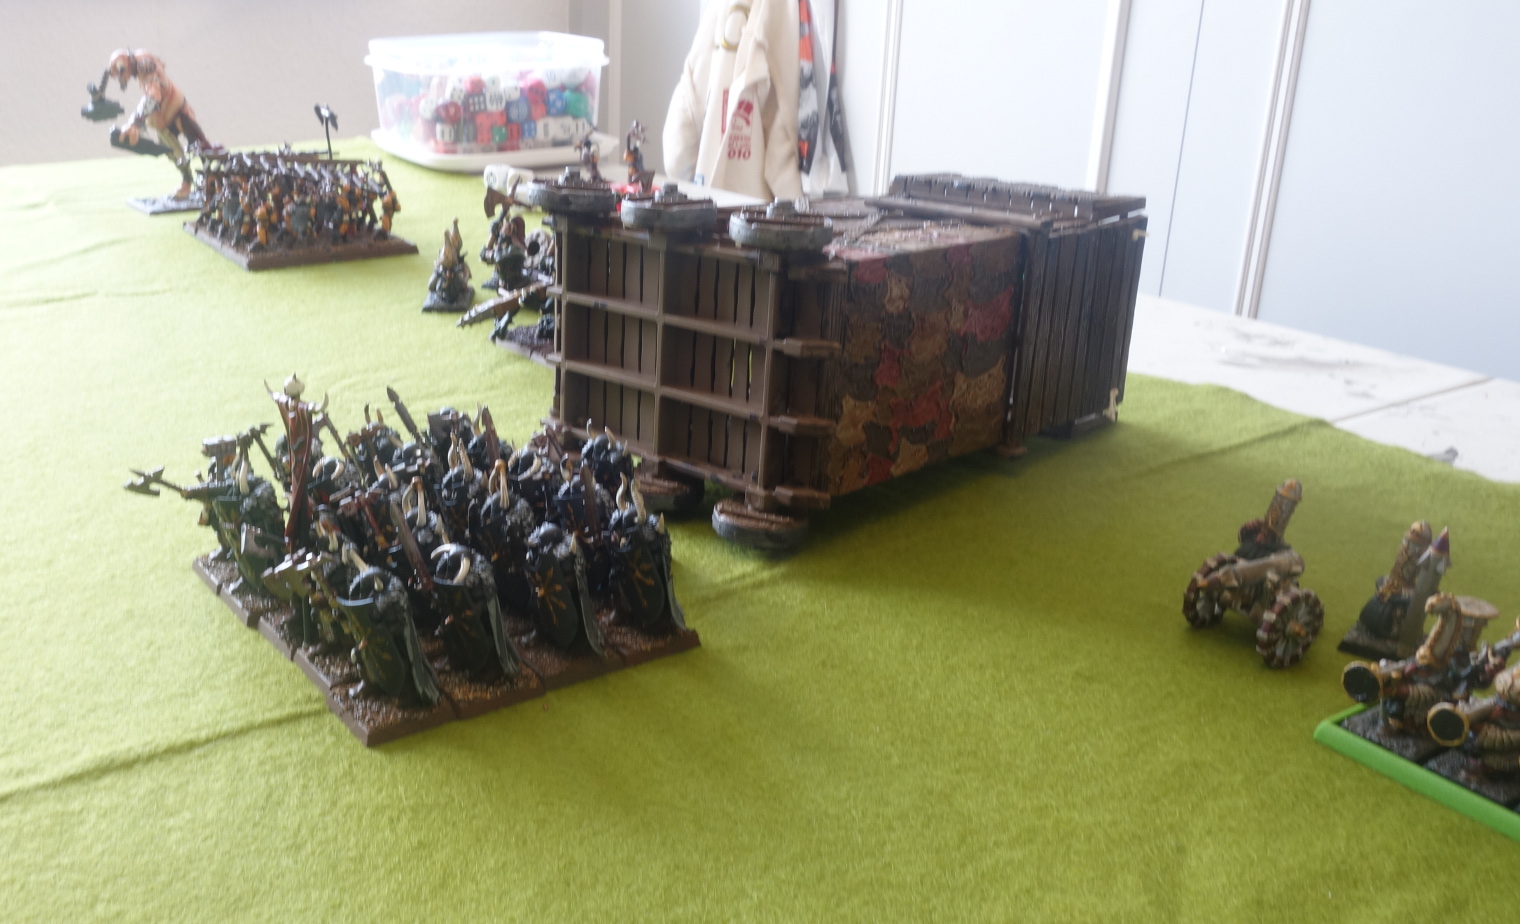
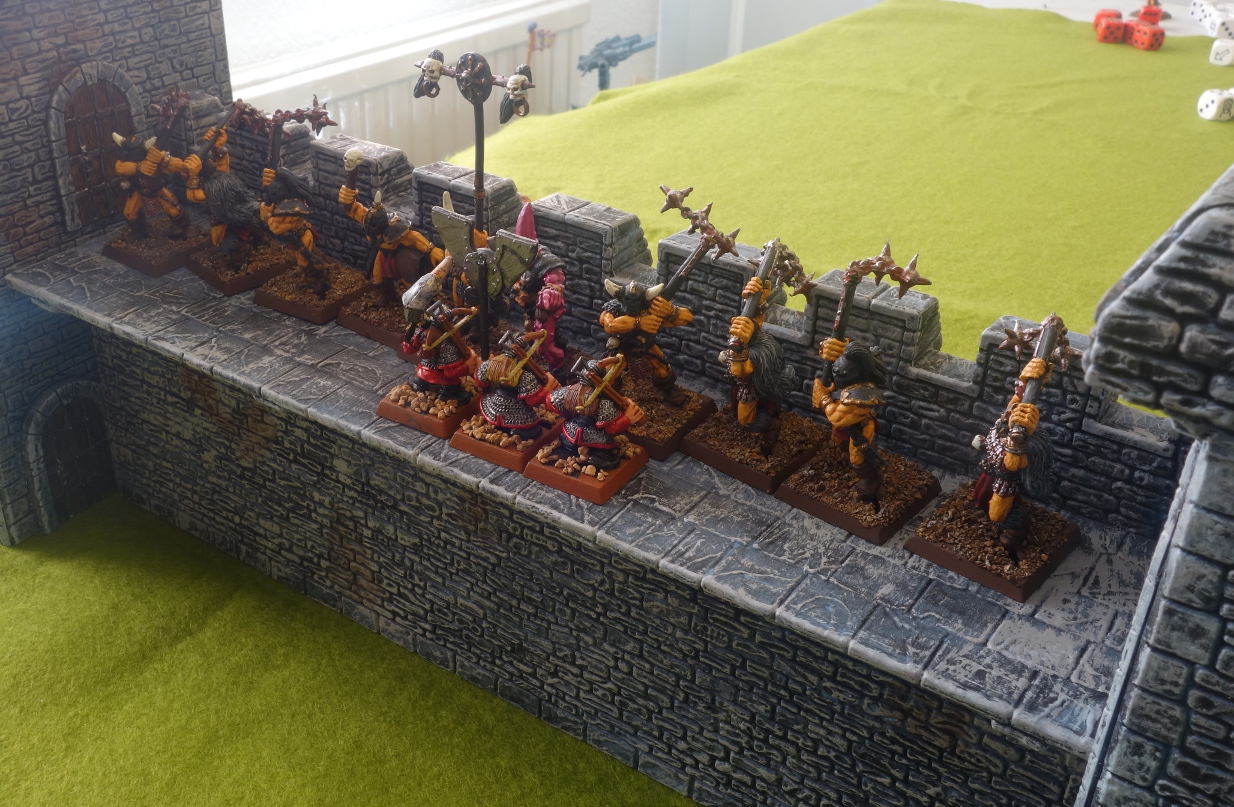
The Chaos battle line after deployment.
From left to right: Giant, Chakram Manflay and Marauders, Shrieker Rocket, Daemonsmith, DreadQuake Mortar, Sundar Klash Chaos Warriors and Siege Tower, Chaos Dwarf Infernal Guard, Skjalpi Bloodscream and Marauders, Forsaken
Before the battle began, the Dwarfs rolled "Personal Vendetta" which meant Lord Durak hated Sundar Clash. This was the weakest result, but felt appropriate. The Siege Tower was allowed to move 2D6" before the battle and trundled forward 8".
The Fortress deployment
From the far wall, Runesmith and Quarrellers, Grudge Thrower, Lord Durak and Hammerers, Cannon, Thane Zoe and Thunderers, Organ Gun, Longbeards
Dwarf Turn 1
With nowhere for the defenders to go, this turn was all about shooting. The cannon lined up its shot and opened fire on the Siege Tower, scoring a direct hit with 5 wounds and bringing it down in the first act of the game. Given the amount of time I spent painting it, this was pretty much inevitable. First blow to the Dwarfs, though Sundar Clash and his Chaos Warriors scrambled out of the wreckage unscathed.
After this powerful opening volley, the rest of the Dwarf shooting was somewhat less impressive. The Organ Gun fired 14 shots, but only 3 of them hit and killed any of Skjalpi Bloodscream's Marauders. The Grudge Thrower misfired, leaving it unable to fire until next turn. At long range the Thunderers killed 2 Chaos Warriors, while the Quarrelers killed 3 of Chakram Manflay's Marauders.
Chaos Turn 1
ADVANCE! The entire Chaos Battle line marched forward, with the only exception being the Chaos Dwarf war machines. In the Magic phase, the Daemonsmith Zanbad Curseheart tried to cast a Flamestorm, but it was dispelled by the Runesmith's Rune of Spellbreaking. He tried to follow up with a double strength fireball, but failed the casting roll.
The Chaos Dwarfs answered the Dwarf artillery fire with their own. The Rocket launchers were equipped with Demolition rockets, one of which missed entirely, despite being able to re-roll thanks to the presence of Zanbad Curseheart. The second hit the section of wall that contained the gate, shaking it (+1 to future damage rolls). The Dreadquake Mortar also hit this section, but proved hugely more effective killing 3 Hammerers and destroying the gate itself. That was for the Siege Tower!
Dwarf Turn 2
With the gate destroyed, Lord Durak and the remaining Hammerers moved off the walls to defend the opening.
The Dwarf shooting was mediocre. The Organ Gun fired only 4 shots, killing 2 Chaos Warriors, while the Cannon took out 3 more and the Thunderers another two. Sadly for the Dwarfs, they passed their panic test. The Grudge Thrower misfired for a second turn in a row while the Quarrellers caused 2 wounds on a Dragon Ogre.
Chaos Turn 2
With a comfortably higher movement rate than the Chaos Warriors, the Dragon Ogres became the first Chaos unit to charge and engaged the Hammerers. The Giant also charged the Quarrellers on the wall. The rest of the army moved to follow.
Magic was ineffective, thanks to a very low number of power dice, and artillery fire achieved little this turn. A demolition rocket scattered, hitting the tower that contained the dwarf cannon, but did no damage, while the Dreadquake was on target, but was unable to damage the gate wall.
Between them, Lord Durak and the Hammerers caused 5 wounds on the Dragon Ogres, killing 1, but they passed their break test. Meanwhile, the Giant swung his club across the ramparts killing four wounds, suffering only one wound in return. As they were defending the wall, the Quarrelers could make a break test on their unmodified leadership and passed comfortably.
Dwarf Turn 3
With only the Hammerers guarding the gate, the Dwarfs badly needed to send reinforcements, but this meant abandoning a wall, which was impossible as long as they were all threatened. There were three Chaos units with ladders, at least one had to go. With that in mind, the Organ Gun targeted the Forsaken and rolled 20 shots at point blank range. The unit was completely annihilated. Again, not surprising given the amount of time I spent painting it.
The rest of the dwarf shooting compensated by being terrible. Both the cannon and the Grudge Thrower misfired, the latter for the third turn in a row.
Lord Durak killed another Dragon Ogre, while the Hammerers killed a third, suffering only one casualty in return. The nerve of the last Dragon Ogre failed him and he fled. The Hammerers should have stayed put to guard the gate, but fury overcame them (they failed their leadership test to restrain) and they pursued out of the gate, leaving them dangerously exposed.
On the left hand wall, the Giant reached out to grab Runesmith Burgin Stonekin. The Runesmith struck at him with his hammer, but was unable to dent the Giant's tough skin. The Giant was angered enough, however, to hurl the Runesmith at the nearby tower, killing him and the damaging the Grudge Thrower. Despite the horrific attack, and their inability to wound him in return, the Quarrellers held their nerve.
Chaos Turn 3
The Assault truly began as Sundar Klash's Chaos Warriors charged the Hammerers and both units of Marauders launched themselves at the walls. Though the Sole remaining Dragon Ogre continued its rout.
Once again, the Daemonsmith's magic had no effect as he was unable to cast a double strength fireball. With the walls no under attack, the Chaos Dwarfs turned their attention to the Dwarf's artillery. The Infernal Guard blunderbusses were now in range, but they were unable to damage the cannon. The Dreadquake, however, scored a direct hit, destroying it. Both rocket launchers targeted the Organ Gun, but both scattered, one killing two thunderers in the process.
Skjalpi Bloodscream issued a challenge which was accepted by Thane Zoe, who hit and wounded him three times, though his armour saved him. The Champion was so surprised that he missed with all his attacks, though he needed 6s to hit on the ramparts. The Thunderers killed 1 Marauder, suffering no losses in return, but they passed their break test.
Lord Durak accepted a challenge from Sundar Klash, which was risky but might have been worth it if he could withstand the Chaos Lord's assault. It was a close thing, Klash caused 3 wounds, which would have killed Lord Durak if not for the Rune of Iron giving him 4 wounds. Durak was only able to cause 1 wound in response. The Chaos Warriors killed 1 Hammerer, but suffered no casualties of their own. Thanks to their stubbornness, the Hammerers passed their break test.
The left hand wall was now under attack by both the Giant and Chakram Manflays flail armed Marauders. Manflay challenged the Dwarf Veteran, but neither was able to wound the other. Neither the Quarrelers nor the Marauders did any damage either. However, the Giant picked up three dwarfs in a row, stuffing two into his bag before getting bored and squashing the third. Despite their losses, the dwarfs passed their break test.
Dwarf Turn 4
With their wall no longer under threat, the Longbeards left the far right wall and moved into the courtyard. Their aim was to get to the Hammerers as quickly as possible, which, unfortunately, was not very fast.
The Organ Gun failed to match its previous performance only killing two Chaos Dwarfs. The Grudge Thrower finally managed to get off a shot at the Dread Quake, only for it to scatter right off the table, even after the re-roll from the Rune of Accuracy.
The battle one the right wall remained inconclusive. Skjalpi Bloodscream and Thane Zoe fought another round of combat without wounding one another, while 2 Marauders were killed in return for no dwarfs. Once again the Marauders stood their ground.
In the Centre, Sundar Klash challenged Lord Durak and managed to take his final wound. In retrospect this was a mistake, one of the Hammerers should have taken the challenge, something they are allowed to do if accompanied by the General. It just didn't occur to me that Lord Durak didn't have to fight. Klash was rewarded with +1 Ballistic Skill, about the most useless reward a Chaos Lord can get. 1 other Hammerer was also killed, but they passed their break test holding up the Chaos Warriors for now.
On the left wall, Chakram Manflay killed the Dwarf Veteran and was rewarded with +1 attack. Other than that, the only casualty was a single dwarf who was picked up by the Giant. But now the Marauders outnumbered the Dwarfs and could seize the ramparts, moving as many of the unit onto the walls as could fit in a single rank.
To be continued...