"When will they be ready," the Black Armoured form of the Chaos Lord Sundar Klash demanded.
"Soon," the Daemonsmith Zanbad Curseheart replied, "we suffered damage in the assault and some of my best were lost in the undermining attempt. Our machines cannot be rushed."
"Machines," the Champion Skjalpi Bloodscream scoffed, "I put my faith in men."
"Men who are armoured and equipped by us," Zanbad retored, "and who have no chance of breaching the walls without us."
"Men who slaughtered the dwarf's messengrers," Skjalpi bellowed. "What have your machines achieved, Daemonsmith? The walls are still standing. I would wager man against machine at any time."
"Then perhaps we should test that," Chakram Manflay purred softly. "What do you say my lord?"
"An intriguing suggestion," Sundar Klash said. "Skjalpi, take a rading party and test the dwarfs defences. We shall see how strong the walls are."
"My Lord," Skjalpi nodded and smiled.
Zanbad merely brooded, silently.
This scenario would be my first opportunity to try out the proper siege rules, as the Chaos forces attempted a raid on the fortress itself. For this scenario, the besieging Chaos forces had 1,000 points, while the defending Dwarfs only got 500. After his success in the previous scenario, I put the Exalted Champion Skjalpi Bloodscream in charge of the Chaos forces. The Dwarfs would be commanded by Thane Narvi, who looks suspiciously similar to Thane Eyni, from the last game.
Although I would be using the siege rules, the forces were limited in the equipment they could use. The attackers were only allowed ladders and log rams, while the defenders could have rocks and boiling oil. With no Warmachines, the defenders lent heavily on missile troops.
Thane Narvi
10 Longbeards with rocks
10 Thunderers
10 Quarrellers
Dwarf Deployment
The Chaos objective was to destroy the fortress gate or wipe out the defenders in five turns. With that in mind, I included two units with log rams, in case one was wiped out or driven off by missile fire. The two units of Marauders with ladders were their to keep the defenders occupied.
Skjalpi Bloodscream - Exalted Champion
15 Chaos Warriors with log ram
4 Dragon Ogres with log ram
20 Marauders with flails and 3 ladders (lead by Skjalpi)
20 Marauders with hand weapons and shields and 3 ladders
Chaos Deployment
The Besieged forces automatically took the first turn.
Dwarf Turn 1
Having deployed in defensive positions, the dwarfs did not move, but opened fire with all missile weapons. The Quarrellers killed 1 Marauder and the Thunderers 1 Chaos Warrior. Not a very promising start.
The opening volley
Chaos Turn 1
With no missile weapons, the only thing for the Chaos forces to do was advance on the fortress as quickly as possible. This put the Dragon Ogres in easy charging range of the gate next turn.
Advance!
Dwarf Turn 2
The Quarrellers opened fire on the Marauders. As if to make up for their poor performance last turn, they killed 5. The Marauders panicked and fled, abandoning their ladders.
I forgot that the Marauders dropped the ladders when fleeing until after I took the picture
Having realised they had probably miscalculated by shooting the Chaos Warriors, the Thunderers switched targets to the Dragon Ogres. But they failed to match the Quarrellers performance and only caused 1 wound.
Chaos Turn 2
An all out charge this turn as the Dragon Ogres rammed the gate and Skjalpi's Marauders assaulted the walls. The Longbeards responded by hurling rocks, killing 2 Marauders.
The assault begins
On the other side of the battlefield, the fleeing Marauders rallied.
When attacking part of a castle, you add the strength of an attack to the number of wounds caused and compare it to a damage chart. Log rams have a strength equal to 1 for each model carrying it up to a maximum of 8. Big models like Dragon Ogres, count as 2 for this rule. It causes D6 wounds. The Dragon Ogres rolled a 1, giving a total score of 9 and the gate remained undamaged.
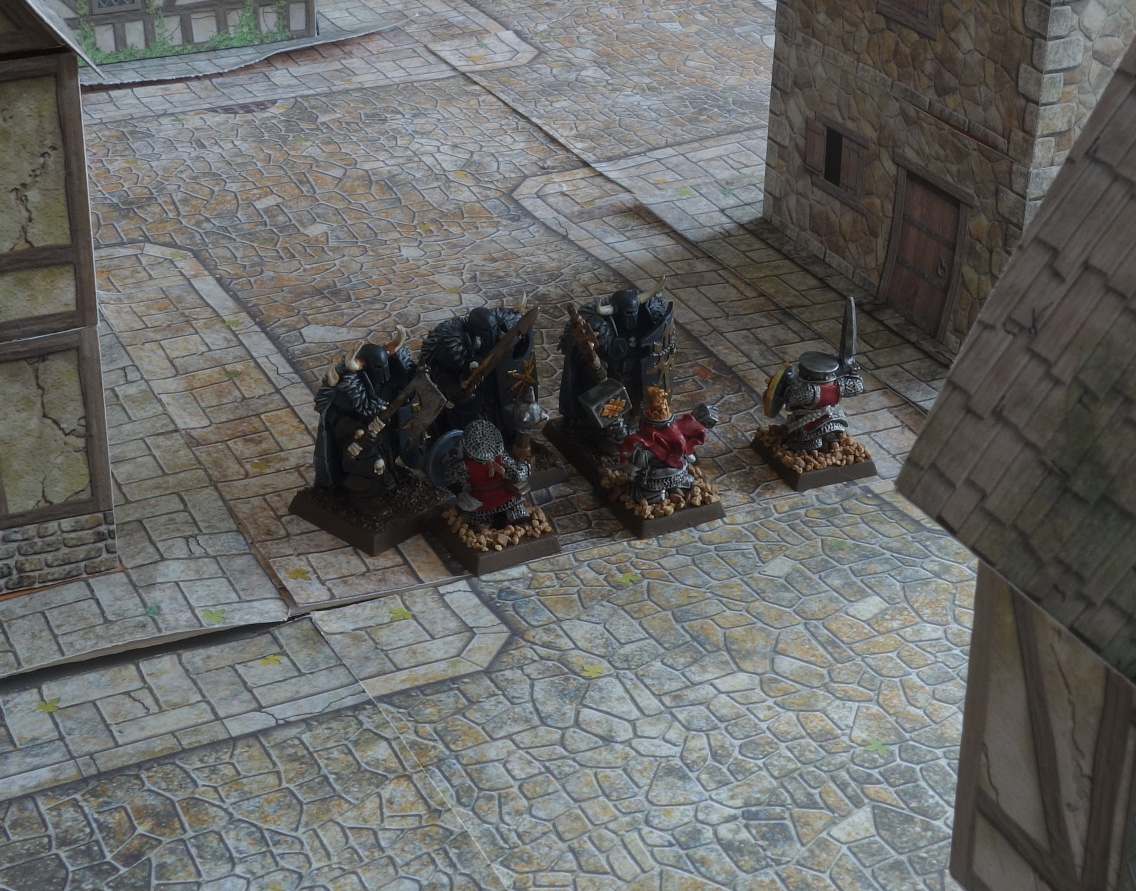
Meanwhile, on the walls, Skjalpi Bloodscream issued a challenge, which was accepted by the Long Beard old guard. Assaulting walls is a risky business. Only 1 model can attack for each ladder, they automatically strike last and hit on 6s. In spite of the disadvantages, Skjalpi survived the Old Guard's attack and killed him. The Chaos Gods rewarded him with a free re-roll that would last until next turn. 1 Marauder was also killed giving a draw.
Dwarf Turn 3
With the threat of the Marauders delayed, the Quarrellers abandoned the walls and headed for the tower. Thane Narvi stayed behind to guard the walls. If the Marauders did assault he would be badly outnumbered, but could probably hold them off for a turn.
The Thunderers opened fire on the Dragon Ogres, causing 2 wounds. Not enough to bring down a Dragon Ogre.
Three of the Longbeards dropped rocks on the Marauders, which they are allowed to do, despite the rest of the unit being in combat, but caused no wounds. The engaged Longbeards brought down 2 Marauders, but failed to wound Skjalpi who killed 1 Longbeard in return. Ranks and standards do not count towards the results when assaulting the walls, so the Longbeards won the combat by 1. However, the losers in an assault can test on their unmodified leadership and the Marauders, or rather Skjalpi, easily passed.
The assault continues
Chaos Turn 3
The recently rallied Marauders advanced and retrieved their ladders. The Dragon Ogres charged the gate again, this time damaging it so that future attacks would add +2.
The Marauders retrieve their ladders while the Dragon-Ogres assault the gate
In a repeat of the previous turn, 2 more Marauders were killed on the walls, while Skjalpi slew another Longbeard and the Marauders passed their break test again.
Dwarf Turn 4
The Thunderers opened fire on the Dragon Ogres, causing 2 more wounds. This was enough to fell one Dragon Ogre and wound another. More importantly, it reduced the strength of the log ram from 8 to 6.
The Chaos forces come under fire
On the left side of the fortress, 1 Marauder was felled by falling rocks, 2 more killed in battle and Skjalpi Bloodscream was wounded. 2 Longbeards were killed in return, but clearly suffering a wound himself was too much for the Champion. The Marauders failed the break test with a score of 10 and fled from the wall.
The Marauders flee the walls
Chaos Turn 4
Chaos faced a dilemma this turn. Ideally, the Chaos Warriors, with 8 models carrying the log ram, would charge, but the Dragon Ogres were in the way. The Dragon Ogres could move but not until after the charge phase meaning there would be no attack on the gate this turn. Reasoning that the Chaos Warriors would come under heavy fire from the Dwarfs next turn and could lose enough models to reduce the strength of their log ram, I left the Dragon Ogres where they were.
The Marauders with hand weapons and shields attempted to charge the walls, but failed and only lurched 1" forward. On the other side of the wall, Skjalpi's Marauders rallied, but couldn't do anything else.
The Dragon Ogres rammed the walls, but rolled a 2, even with the damage from the previous turn, this wasn't enough to cause any effect.
The attack on the gate fails
Dwarf Turn 5
The Thunderers opened fire on the Dragon Ogres again. This was risky. If they did enough damage to kill 1 more Dragon Ogre, it would reduce the strength of the log ram to 4 and preclude any possibility of them destroying the gate, but if the Dragon Ogres panicked or were wiped out, it would clear the way for the Chaos Warriors.
The Thunderers caused 4 wounds and 1 Dragon Ogre fell, but they passed their break test. This almost certainly meant victory for the Dwarfs. The Quarrelers failed to injure the Chaos Warriors, but it scarcely mattered.
The Dwarf fire takes its toll
Chaos Turn 5
With no chance of destroying the gate, the Chaos armies simply tried to do as much damage as possible. Both sets of Marauders charged the walls.
Thane Narvi stood alone against the Marauders, but the Chieftain had no choice but to issue a challenge and was immediately cut down.
Thane Narvi slays the Marauder Chieftain
On the other side, 1 Marauder and 1 Longbeard fell, ending the combat with a draw.
But, with the gate still standing and the walls defended, the battle had been won by the Dwarfs.
The gate still stands
I went into this game expecting the Dwarfs to have a hard time. I expected them to hold the walls, but thought that two Chaos Units with log rams would have no trouble bringing down the gate in 5 turns. I failed to take into account that only one unit would be able to attack it at a time and that the Warhammer turn sequence would make it impossible for one unit to withdraw and the other to attack in the same turn.
Things really went wrong for Chaos when the Marauders panicked. This gave the Quarrellers the cover they needed to move into the tower and doubled the amount of fire power the dwarfs could bring to bear.
In retrospect, it might have been sensible to withdraw the Dragon Ogres on Chaos Turn 4, but then the dwarfs would have directed all their fire on the Chaos Warriors and Chaos would have been no better off. By leaving the Dragon Ogres, Chaos at least got one guaranteed strength 6 attack.
I realised after the game that, once they rallied, the Marauders should have assaulted the walls above the gate. This would have occupied the Thunderers and provided some cover to the Dragon Ogres. The thought simply didn't occur to me at the time.
The Longbeards and Skjalpi's Marauders both performed pretty well. Given a couple more turns I think Skjalpi would have taken the walls. But this fight was only ever a side show to the real battle taking place at the gate.
It was a good chance to try out the siege rules on a reduced scale. I thought they translated to 8th edition without any serious issues. But, I won't get to try them again for a bit. The roll for the end of the campaign was negative and so we continue into Siege Turn 3.