My plan was for this to be the last normal round of the campaign. After this I only want to play one final fight which will involve all six teams and settle the overall winner of the campaign. But that's going to take a fair bit of time and planning, so probably won't happen for a little while yet. This round will be crucial though, as it will establish the final leader board, which will determine which teams have the advantage in the final fight.
Game 5a - Wyches vs Sisters of Battle
I rolled up the Ambush scenario with the Sisters as Defenders. The Sisters took up a defensive position on top of the Promethium Refinery. This gave them a good vantage point, but, unfortunately for them, all the Sisters had to deploy in the centre, with none of them able to deploy anywhere else on the table.

Thanks to their accompanying Haemunculus (and the fact that I remember the rules) the Wyches got two rolls on the combat drugs table giving them +1 to both Weapon Skill and Toughness. They relied on the toughness boost and their speed to avoid the worst of the bolter fire and get under the promethium refinery.

Despite this, they still suffered some casualties as Hexar and Syren Cyrix were both downed, Melris was flesh wounded and Selkis pinned.

Having weatherd the worst of the fire, the Wyches were able to scale the ladder and engage in hand to hand where they excelled. The Sisters held their own at first, but couldn't bring their fire power. It didn't help that Sister Superior Winnifred failed her fear test in the face of Hyldar's horrible scars, keeping her out of the fight for a turn.

Meanwhile, the Sister's attention was diverted by the Haemonculus taking pot shots at them from the walk way.

The Sisters held out in hand to hand as long as they could, but were overmatched by the Wyches.

Then Syren Cyrix recovered to flesh wound and joined the fight, the Sisters were not just outmatched, but outnumbered.

Soon it was all over and the Sisters bottled.

This was a confident win for the Dark Eldar, who gained 3 Data caches, putting them at the top of the table. The Sisters gained 1 Data cache but, tragically, Sister Hildegarde died, causing their Kill Team rating to drop. Rather than recruit a new Sister, the Sisters choose to recruit a Seraphim for the final round. The Dark Eldar had already paid to keep their Haemonculus for two games, so recruited a Succubus as well!
Game 5b - Blood Axe Orks vs Chaos Space Marines
I made a silly mistake setting up the scenery in this scenario. I left far too much open space in the centre of the table, allowing both side to take pot shots at each other from right across the other side of the board. This would have a nasty impact on the game. The scenario was a straight Kill-Team fight, chosen by the Plague Marines because it didn't give the Orks any additional numerical advantage.

Both Plague Marines and Orks set up sentries at key vantage points on opposite sides of the table.

Meanwhile, with the centre of the table exposed to fire, Sergeant Bogrot lead a flanking force to try and out sneak the Chaos Marines.

Meanwhile, the Orks and Chaos Marines took pot shots at each other from across the battlefield.

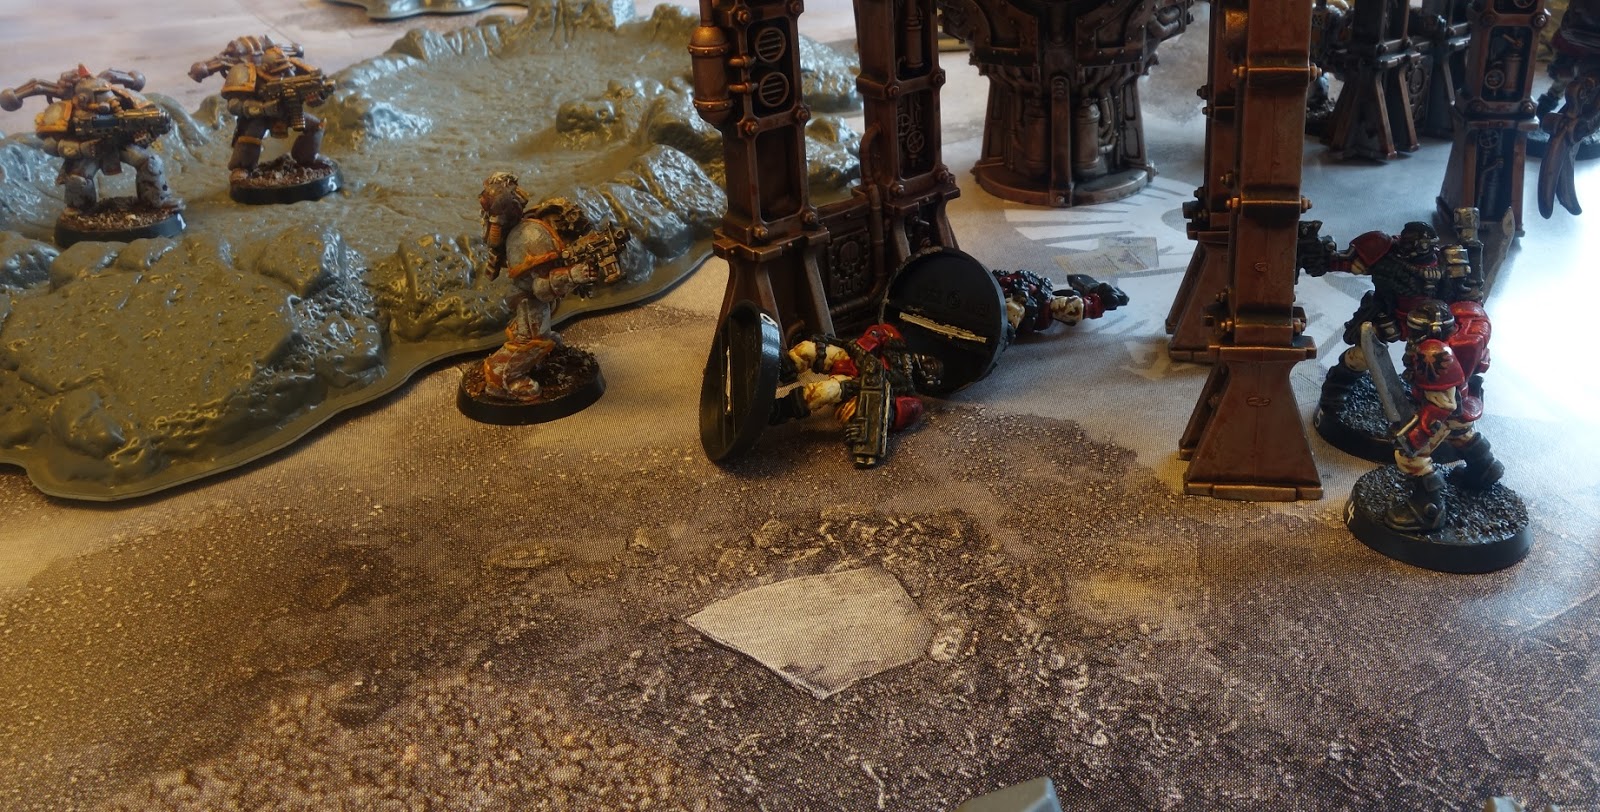
The Chaos Marine Champion Brother Corpulous lead a group down the centre of the table, relying on their sheer toughness to keep them safe. This worked up to a point, as a pattern emerged in which the Orks would hit and pin the Chaos Marines, but completely fail to wound them.

Sergeant Bogrot's flanking force were distracted shooting at Brother Corpulous' advance party in a bid to stop them advancing up the table. This worked, but lead to deadlock as neither side were able to actually hurt the other and their was no incentive for either side to do anything other than shoot each other and hope their luck changed.

Finally Brother Leprous took up a better firing position in an attempt to break the deadlock.

He was quickly taken out by Fragrap's flamer, but at least that put Fragrap in the firing line of Brother Pox and he was taken down along with Razan.

Most of the flanking force were now stuck, keeping the Chaos Marines pinned.

But Sergeant Bogrot continued his original plan single-handedly, sneaking his way around the rear of the enemy lines.

With the game having dragged on for nearly ten turns, the Orks tried something desperate as Korporal Frix and Dagroll broke cover to try and get into better firing positions.

Finally Sergeant Bogrot was in a position to spring his trap, just as Brother Pox was downed by Big Shoota fire from Snagrip.

Amazingly, both Brother's Scrofula and Buboes fled in fear from Sergeant Bogrot's horrible scars (which he picked up all the way back in round 1) one after the other, and he was able to finish off Brother Pox before following up and taking out Brother Scrofula.

With Dagroll locked in combat with Brother Corpulous, but still holding his own and the Orks now having overwhelming numerical superiority, the Chaos Marines bottled.

This game dragged horrendously because of my silly mistake with the scenery. Both sides could see and shoot each other, but had no luck wounding, so most of the first six or seven turns were spent in futile dice rolling. I actually considered giving up on the game half way and treating it as a draw, but in the end I took a break for a day before carrying on afresh.
This was the Ork's fourth win, giving them a clear lead in simple victories. They found two data caches, putting them on 10, joint top of the leader board. The Chaos Marines were left on seven. The Orks recruited a freebooter for the final round, while the Chaos Marines kept their Terminator, not that he had been much use in this game.
Game 5c - Blood Angel Scouts vs Tau
After my chronic mistake in the last game, I set up the scenery to off no clear firing lines. The scenario was another ambush, with the Blood Angels defending and, with the Promethium Refinery in the centre. The Tau rolled "it's quiet" on the event table, while the Space Marines rolled "Fear and Confusion" which meant both sides would have to add one to their bottle rolls.

The Scouts mostly set up on the refinery, but placed a few at ground level, to stop the Tau sneaking underneath. They weren't going to make the same mistake as the Sisters, not that they knew anything about that.

Meanwhile, Novices Marco and Angelo were able to deploy behind the Tau lines. Though this was a high risk strategy, leaving them exposed to fire if they didn't win the first turn.

They didn't win the first turn.
Novice Marco was quickly taken out and Angelo pinned.

However, the Tau opening salvo was pretty blunted only Brother Niccolo took a wound and the Veteran
was taken down by Ree'va's Rail Rifle.

Brother Sergeant Antonio and Brother Paolo used
hip-shooting to run and shoot, while Brother Sebastiano advanced.
Sebastiao took out Bry'ch and Brother Fillipo took out Tri'spa.

Shooting from on top of the Promethium refinery
Brother Michael managed to miss on a 1 when he needed a 2, while
Brother Raphael managed to hit and downed Gen'tu. With two fighters
OOA and one down, the Tau managed to fail a bottle check, rolling an
8 which became 9 thanks to “Fear and Confusion.” The Space
Marines won after only one turn!

If it hadn't been for the last game, I might have fudged the bottle roll and let the game continue, but, as it was, I was just relieved to not have to play for ten turns. The Blood Angels found 3 data caches, which put them on 10 as well, redeeming themselves after their recent run of failures. The Blood Angels retained the services of their veteran while the Tau recruited a Cadre Fireblade for the final round.
With round five at an end, the leader board looks like this:
|
Kill Team
|
Data Caches
|
Wins
|
Losses
|
Team Rating
|
|
Orks
|
10
|
4
|
1
|
2064
|
|
Adeptus Sororitas
|
10
|
3
|
2
|
2154
|
|
Dark Eldar
|
10
|
2
|
3
|
1963
|
|
Space Marine Scouts
|
10
|
2
|
3
|
1785
|
|
Tau
|
8
|
2
|
3
|
1743
|
|
Chaos Space Marines
|
7
|
2
|
3
|
1881
|
It's a surprisingly balanced result with four teams on an equal number of Data caches and every team having at least two wins. Only the Sisters and Orks have managed to pull slightly ahead, and, in the former case, this was as much luck as judgement.
The Dark Eldar have finally managed to pull themselves back up, now that I figured out how to use them, while the Tau's impressive fire power hasn't actually translated into wins in a lot of cases.
I'm taking a bit of a break from Shadow War while I work out the details of the final scenario and finish off some other painting, but hopefully I'll have something suitably epic for the new year as the Kill Teams finally uncover the archive or Inquisitor Rudolphus.